
Welcome to the Honeywell TH6220U2000 installation guide. This manual provides step-by-step instructions for installing, configuring, and troubleshooting your programmable thermostat. Designed for energy efficiency and precise temperature control, it ensures optimal performance and user convenience.
Importance of the Installation Manual
The installation manual for the Honeywell TH6220U2000 thermostat is a comprehensive guide essential for ensuring proper installation, configuration, and maintenance. It provides detailed step-by-step instructions, safety guidelines, and troubleshooting tips to help users achieve optimal performance. By following the manual, users can avoid common installation errors and ensure their thermostat operates efficiently. The manual also highlights critical safety precautions, such as handling electrical components correctly, to prevent hazards. Additionally, it offers insights into configuring advanced features like daily schedules and lockout settings. Whether you’re a professional installer or a homeowner, this manual is indispensable for maximizing the thermostat’s energy-saving capabilities and ensuring long-term reliability.
System Requirements and Compatibility
The Honeywell TH6220U2000 thermostat is compatible with most HVAC systems, including single-stage cooling and heating. It requires a 24VAC power supply and works with or without a common wire.
Checking Compatibility with Your HVAC System
To ensure proper installation, verify that the Honeywell TH6220U2000 thermostat is compatible with your HVAC system. Check if your system is single-stage, multi-stage, or heat pump compatible. Ensure the thermostat supports your system’s voltage, typically 24VAC. Verify if a common wire (C-wire) is required or if the system operates without one. Review the wiring configuration to match the thermostat’s terminal connections. For heat pumps, confirm the correct wiring for reversing valve control. If unsure, consult your HVAC system’s manual or contact a professional to avoid incompatibility issues. Proper compatibility ensures efficient operation and prevents potential damage to the thermostat or HVAC system.
Necessary Tools and Materials for Installation
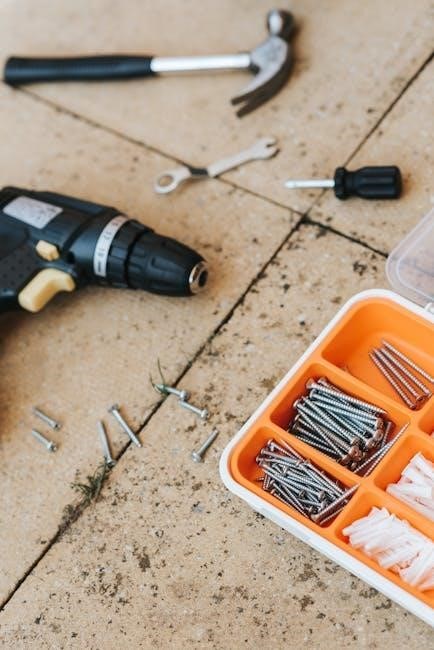
To install the Honeywell TH6220U2000 thermostat, you will need specific tools and materials to ensure a smooth process. Start with a flathead and Phillips screwdriver for removing the old thermostat and mounting the new one. Wire strippers may be necessary if wire ends are frayed or damaged. A voltage tester is crucial to verify that the power is off before handling wires. A level will help ensure the thermostat is mounted straight. Mounting screws and wall anchors are typically provided in the kit, but having spares can be helpful. The thermostat kit includes a universal wall plate and wiring labels for organization. Optional tools like a drill and pencil may be needed for marking holes. A ladder or step stool may also be required for safe access. Finally, ensure you have a C-wire adapter if your system lacks a common wire. Always refer to the provided kit contents and user manual for specific requirements.
Electrical Requirements and Safety Precautions
Before installing the Honeywell TH6220U2000 thermostat, ensure your HVAC system meets the electrical requirements. The thermostat operates on 24V AC and requires a common (C) wire for proper functionality. If your system lacks a C-wire, consider using a C-wire adapter to avoid installation issues. Always turn off the power to your HVAC system at the circuit breaker before starting the installation to prevent electrical shocks or injuries. Use a voltage tester to confirm the power is off. Avoid touching electrical wires or components without proper insulation. Never overload circuits, as this can cause system malfunctions or safety hazards. Keep the work area dry and well-lit to maintain safety. If unsure about any electrical aspect, consult a licensed electrician. Proper adherence to these precautions ensures a safe and successful installation.
Pre-Installation Steps
Ensure your HVAC system is compatible and prepare the necessary tools and materials.
Understand the thermostat components and their functions.
Follow safety guidelines when handling electrical devices to avoid injuries or damage.
Preparing the Site for Thermostat Installation
Begin by turning off the power to your HVAC system at the circuit breaker or fuse box.
Remove any covers or screws from the existing thermostat to access the wires.
Clean the area around the wall plate to ensure proper installation.
Check for any damage to the wiring or wall that may need repair.
Ensure the wall can support the weight of the new thermostat.
Have all tools and materials within reach to streamline the process.
Understanding the Thermostat Components
The TH6220U2000 thermostat consists of key components designed for efficient operation.
The display screen provides a user-friendly interface for temperature control and settings.
The wiring terminals connect to your HVAC system, ensuring proper communication.
The temperature sensor accurately monitors and adjusts the ambient temperature.
The control buttons or touch interface allow for easy navigation and adjustments.
The mounting bracket ensures secure installation on the wall.
The backup battery maintains settings during power outages;
The optional Wi-Fi module enables smart home integration.
Familiarizing yourself with these components is essential for a smooth installation and operation.
Safety Guidelines for Handling Electrical Devices
When handling electrical devices like the TH6220U2000 thermostat, always prioritize safety.
Ensure the power to your HVAC system is turned off at the circuit breaker before starting work.
Use a voltage tester to confirm there is no electricity flowing to the system.
Avoid touching live wires or components to prevent electric shock.
Ground yourself by touching a metal object or wear an anti-static strap to discharge static electricity.
Work in a well-lit area and avoid wet conditions to minimize risks.
Place components on a non-conductive surface, such as a wooden table, to prevent damage.
Handle the thermostat and wiring with care to avoid physical damage.
Follow all instructions carefully and consult a licensed electrician if unsure about any step.
Adhering to these guidelines ensures a safe and successful installation process.

Installation Process
The installation involves unpacking, mounting the wall plate, connecting wires, and attaching the thermostat. Follow step-by-step instructions for a smooth and secure setup, ensuring safety and accuracy.
Unpacking and Organizing the Thermostat Kit
Begin by carefully unpacking the TH6220U2000 thermostat kit. Ensure all components, including the thermostat, universal wall plate, screws, wire labels, and user manual, are accounted for. Inspect for any damage or missing items. Organize the components on a clean, flat surface to avoid misplacement. Separate the wires and label them according to their functions for easier identification during installation. This step is crucial for maintaining clarity and efficiency throughout the process. Double-check the kit contents against the manual’s list to confirm everything is included. Once verified, proceed to the next step with confidence, knowing your workspace is prepared and all necessary tools are within reach. Proper organization ensures a smooth and stress-free installation experience.
Mounting the Universal Wall Plate (UWP)
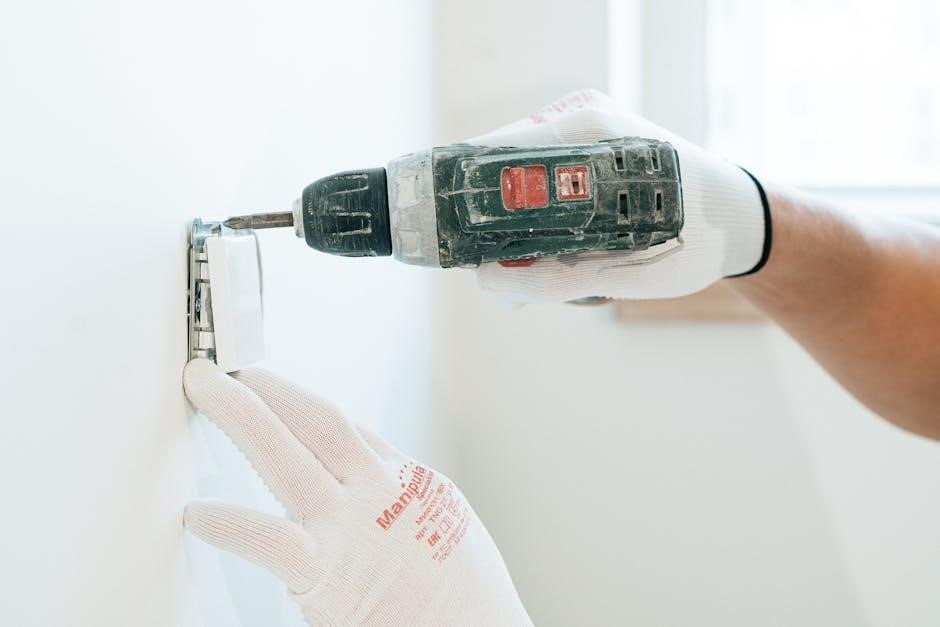
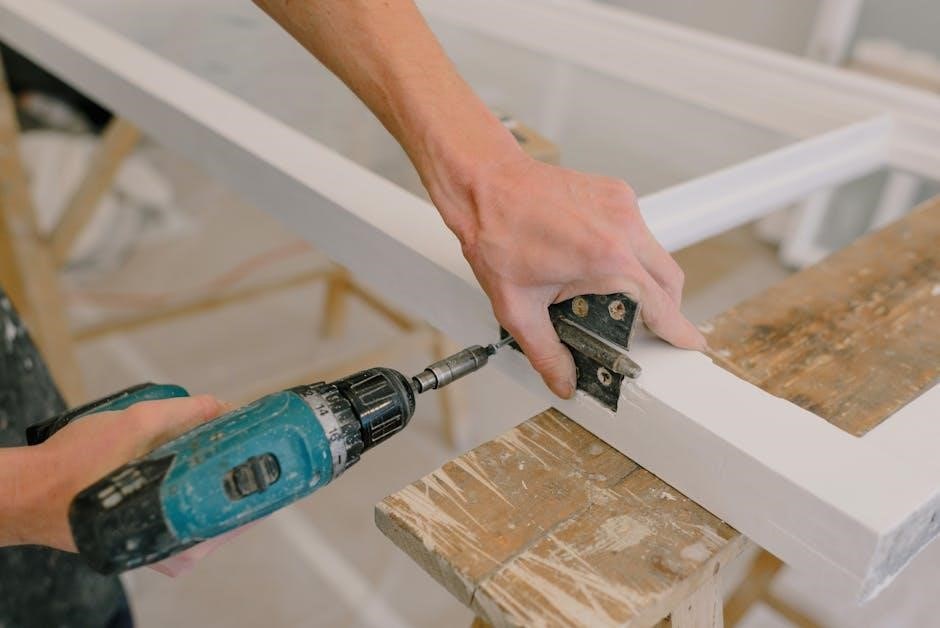
Locate the wall where the UWP will be installed, ensuring it aligns with your HVAC system’s existing wiring. Use a stud finder to identify a sturdy wall stud for secure mounting. If no stud is available, use the provided wall anchors for drywall or plaster. Mark the wall with a pencil at the desired height, ensuring it is level. Drill pilot holes for the screws, then insert the anchors if needed. Screw the UWP into place, tightening firmly but avoiding overtightening. Ensure the plate is straight and level. Do not overtighten, as this could damage the wall or the UWP. Once mounted, verify the plate is secure and even. This step ensures a stable base for the thermostat installation. Proper mounting is essential for safe and reliable operation. Follow the manufacturer’s guidelines for optimal results.
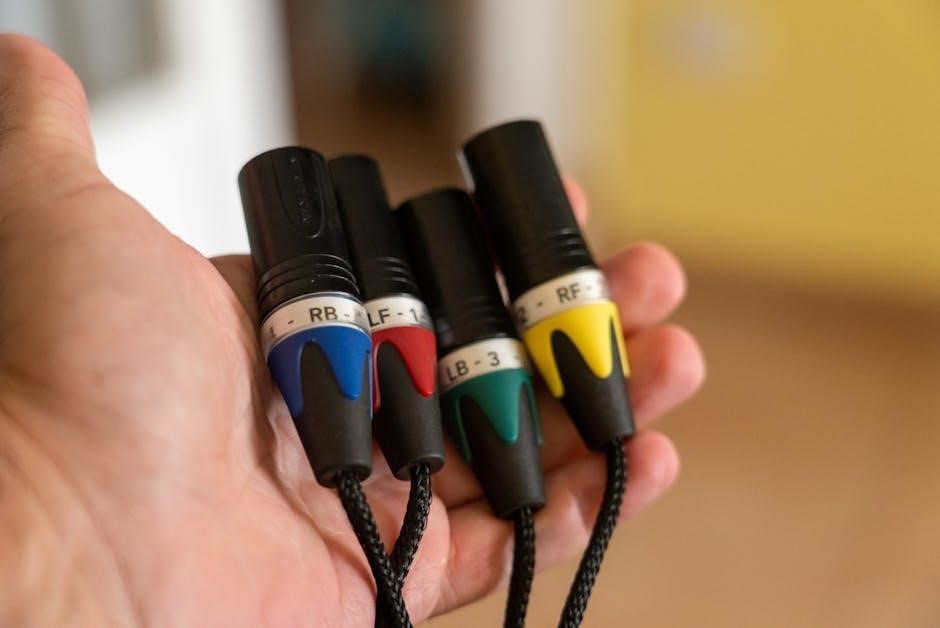
Connecting the Wires to the Thermostat
Before connecting the wires, ensure the power to your HVAC system is turned off at the circuit breaker. Identify the wires from your existing system and match them to the corresponding terminals on the thermostat. Use the wire labels from the old thermostat or the wiring diagram in this manual for reference. Gently insert each wire into the correct terminal on the UWP, ensuring they are securely fastened. Do not force wires into incorrect terminals, as this may cause damage. Once all wires are connected, double-check the connections to confirm they are correct and tight. If unsure, consult the wiring diagram or contact a licensed electrician. Proper wire connections are critical for the thermostat to function correctly and safely. This step ensures your system operates efficiently and reliably. Always follow safety guidelines when handling electrical components.
Attaching the Thermostat to the Wall Plate
Once the wall plate is securely mounted, align the thermostat unit with the plate, ensuring the screw holes match up. Gently press the thermostat onto the wall plate until it clicks into place. Insert the provided screws through the thermostat’s mounting holes and tighten them firmly in a clockwise direction. Avoid over-tightening, as this could damage the thermostat or the wall plate. Ensure the unit is level and evenly seated. If the thermostat has a locking mechanism, engage it to secure the device. Double-check that all wires are neatly arranged and not pinched between the thermostat and the wall plate. Finally, verify that the thermostat is securely attached and visually inspect the installation for proper alignment. This step ensures the thermostat is safely and correctly mounted, ready for operation. Proper attachment is essential for reliable performance.
Optional Cover Plate Installation
The optional cover plate is designed to enhance the thermostat’s appearance and protect the device from dust or tampering. If you choose to install it, first ensure the thermostat is already securely attached to the wall plate. Remove the thermostat from the wall plate by gently pulling it away, taking care not to damage the wires. Align the cover plate with the wall plate, ensuring proper alignment of the screw holes. Secure the cover plate using the provided screws, tightening them gently to avoid stripping the threads. Reattach the thermostat by aligning it with the wall plate and pressing firmly until it clicks into place. Tighten the screws to hold the thermostat in position. Ensure the cover plate is flush with the wall and evenly aligned for a professional finish. This step is entirely optional but adds an extra layer of protection and aesthetic appeal. Always refer to the manual for specific details. Proper installation ensures durability and functionality.
Configuration and Setup
After installation, configure basic settings like temperature and schedules. Set up security features like lockouts to secure your thermostat. Follow the manual for precise configurations.
Initial Setup and Programming the Thermostat
After installing the thermostat, turn it on and ensure it has power. Use the touchscreen interface to navigate through the menu. Start by setting the basic parameters such as temperature units (Fahrenheit or Celsius), time format (12-hour or 24-hour), and date. Configure the system type (heating, cooling, or heat pump) based on your HVAC setup. Set the minimum and maximum temperature limits to avoid extreme settings. Program the schedule by selecting the desired temperature for wake, leave, return, and sleep periods. Adjust these settings based on your daily routine for optimal energy efficiency. Save your configurations to ensure they remain active. If unsure, refer to the manual for detailed guidance on advanced programming options. Proper setup ensures smooth operation and energy savings. Always test the system after programming to verify functionality.
Setting Up Daily Schedules and Preferences
After initial setup, customize your thermostat by creating daily schedules tailored to your lifestyle. Access the scheduling menu via the touchscreen interface and select “Add Schedule” to begin. Choose the days of the week you wish to program and set the desired temperature levels for specific times, such as wake, leave, return, and sleep. Use the up/down arrows to adjust temperatures, ensuring energy efficiency by lowering or raising settings when the house is unoccupied. Save each schedule to apply it. For added convenience, copy schedules across multiple days or modify individual days as needed. Review and adjust the schedule regularly to match changes in your routine. This feature helps optimize energy usage and maintains comfort throughout the day. Always test the schedule to ensure it operates as expected. Proper scheduling enhances both convenience and energy savings.
Enabling Lockout Features for Security
To enhance security and prevent unauthorized changes, the TH6220U2000 thermostat offers lockout features. Access the settings menu by pressing and holding the touchscreen for 5 seconds until the password screen appears. Enter your 4-digit password (default is 0000 unless changed). Navigate to the “Lockout” section and select your desired security level: partial or full lockout. Partial lockout restricts temperature adjustments but allows schedule changes, while full lockout disables all user inputs. Use the arrows to confirm your selection and save the changes. This feature ensures energy settings remain consistent and prevents accidental or unauthorized modifications. For added security, customize the password in the settings menu. Regularly review and update your lockout preferences to maintain optimal control and peace of mind. Proper use of these features enhances system security and stability. Always ensure the lockout is enabled after initial setup for maximum protection.
Troubleshooting Common Issues
Troubleshooting common issues with the TH6220U2000 thermostat involves checking error codes, verifying wiring connections, and ensuring proper installation. Resetting the device may resolve many problems.
Identifying and Resolving Common Installation Problems
Common installation problems with the TH6220U2000 thermostat often involve wiring issues, incorrect setup, or compatibility problems. One frequent issue is incorrect wire connections, which can cause the thermostat to malfunction or fail to power on. To resolve this, verify that all wires are securely attached to the correct terminals on the Universal Wall Plate (UWP). Another issue is insufficient power supply, which may result in intermittent operation or a blank display. Ensure the system’s power is turned off before starting installation and that the circuit is properly sized. If the thermostat fails to communicate with the HVAC system, check for loose connections or damaged wires. Additionally, ensure the thermostat is compatible with your HVAC system type (e.g., heat pump, gas furnace) and stage of heating/cooling. Refer to the wiring diagram in the manual for guidance. If issues persist, restart the thermostat by removing and reconnecting the batteries or power source. Always double-check the installation steps and consult the troubleshooting section for specific error codes or symptoms.
Advanced Troubleshooting Techniques
For advanced troubleshooting of the TH6220U2000 thermostat, begin by using a multimeter to verify voltage levels at the Universal Wall Plate (UWP) terminals. Check for short circuits or open wires in the system, especially in multi-stage or zone-controlled setups. If the thermostat displays erratic temperature readings, inspect the sensor calibration or try resetting the device to factory settings. Advanced users can access the thermostat’s diagnostic menu to review error codes and system logs for detailed insights. Ensure all firmware updates are installed, as outdated software may cause compatibility or performance issues. For network-connected models, verify the Wi-Fi signal strength and ensure the router is functioning properly. If issues persist, perform a system reset by removing batteries and disconnecting power for 30 seconds. Always refer to the installation manual for specific diagnostic procedures tailored to your system configuration.
Successful installation and setup of the TH6220U2000 thermostat ensure optimal performance and energy efficiency. Double-check all connections, test functionality, and refer to the manual for future adjustments or troubleshooting. Proper operation guarantees comfort and savings.

Final Checks and Ensuring Proper Operation
After completing the installation, perform a thorough inspection to ensure all components are securely connected and properly aligned. Verify that the thermostat powers on and the display is functional. Test the HVAC system by adjusting the temperature settings to confirm proper heating and cooling responses. Check for any error messages or unusual behavior. Ensure the device is level and firmly attached to the wall plate. Review all programmed schedules and preferences to confirm they are set correctly. Finally, verify that the lockout features are enabled if desired. If any issues arise, consult the manual or reset the thermostat. Proper operation ensures energy efficiency, comfort, and system reliability.